คืนค่าการตั้งค่าทั้งหมด
คุณแน่ใจว่าต้องการคืนค่าการตั้งค่าทั้งหมด ?
ลำดับตอนที่ #8 : (อยู่ในระหว่างการแปล)อยากได้ iPhone สักเครื่องไหม? (Apple iPhone)
ั้นอนารทำ
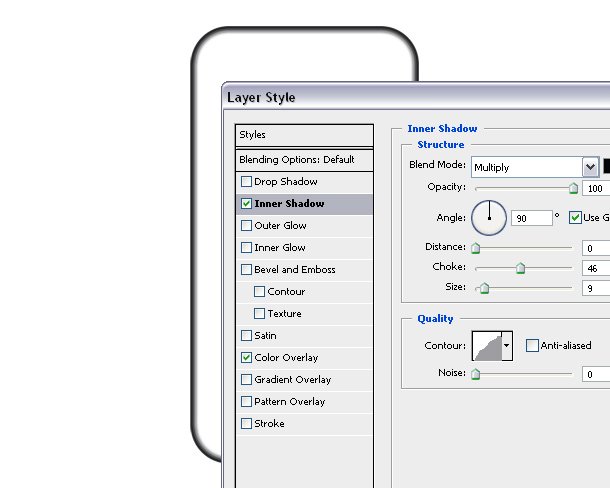
1. เปิเอสารึ้นมา รอบนี้อเป็นนามารานเว็บเพเลยละัน 1280x1024px านั้นสร้ารูปสี่เหลี่ยมมุมรีแนวั้ยาวๆัรูป ้วย Rectangular Marquee Tool เพิ่มวามฟุ้ประมา 20px radius านั้นใส่ Inner Shadow เหมือนัในรูป ันี้
(หรือหา้อารลวามยุ่ยาล็โหลัวอย่ารูปร่าไอโฟน ที่นี่ รับ)
Blend Mode = Multiply
Opacity = 100
Angel = 90
Distance = 0
Choke = 46
Size = 9
านั้นไปที่ Colour Overlay เลือสีาวแลวปรับ opacity ให้สุวา (100) ะไ้ัรูป
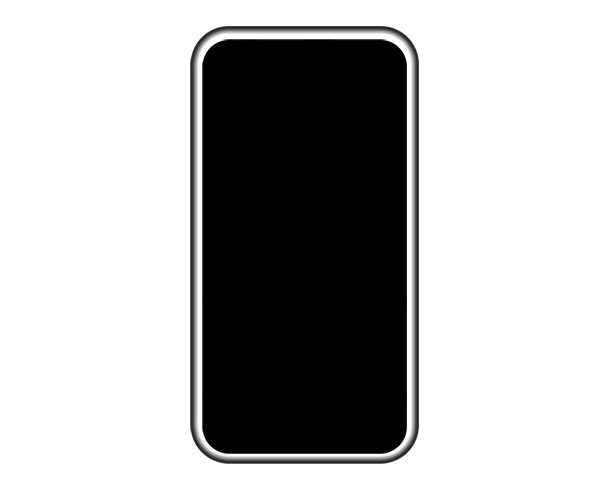
2. สร้าเลเยอร์ัวไอโฟนึ้นมา โยะัลอเลเยอร์เ่า (Ctrl+A, Ctrl+C, Ctrl+V ามลำับ) แ่ให้อยู่บนเลเยอร์แร านั้นย่อนาลมาพอเหมาะแล้วใส่สีำ ัภาพ
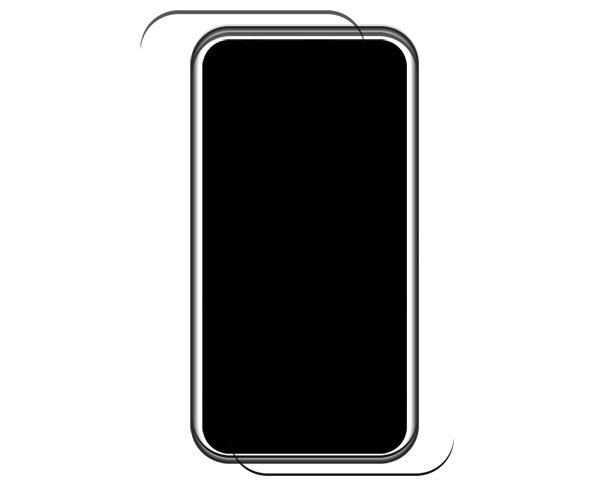
3.ใส่เาแวววับ เพื่อให้ไอโฟนูมีมิิึ้น โยเพาะรายละเอียรบ้านบนและ้านล่า
ให้เลือเลเยอร์พื้นหลัร้านวินโวส์วามือ ใ้ีย์ Ctrl+J เพื่อัลอเลเยอร์ านั้น�Ctrl ้าไว้พร้อมับลิที่รูปเลเยอร์ ะึ้นเส้นประ ให้เลื่้อนเหลืออบนิหน่อยัภาพ านั้นัทิ้ไป ะไ้เาใส่้านบน แล้ว่อานั้น็สร้า้านล้าโนัลอเลเยอร์้นบับอีรั้ (อาุเล็น้อยสำหรับมือใหม่ แ่ผม็อธิบายยา ^^ ทำอย่าเียวไม่่อยไ้อธิบาย)
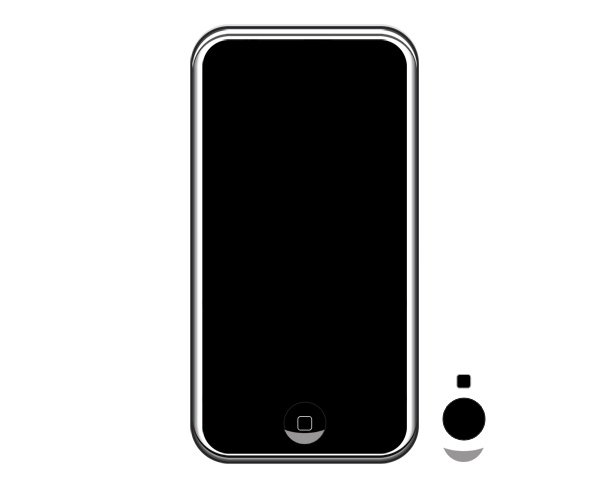
4. สร้าปุ่ม home สร้าปุ่มCreate a black circle and add a gray 2px outline.
To make the glossy effect at bottom, repeat the 4th step (duplicate the circle layer, make a selection and cut).
At the end make a 4-5px radius rectangle and add 2 px gray outline.
5. Add the side buttons. Make them all with 1px rounded rectangle and add a dark gray to light gray gradient.
Put these layers under all existing layers in the layers palette.
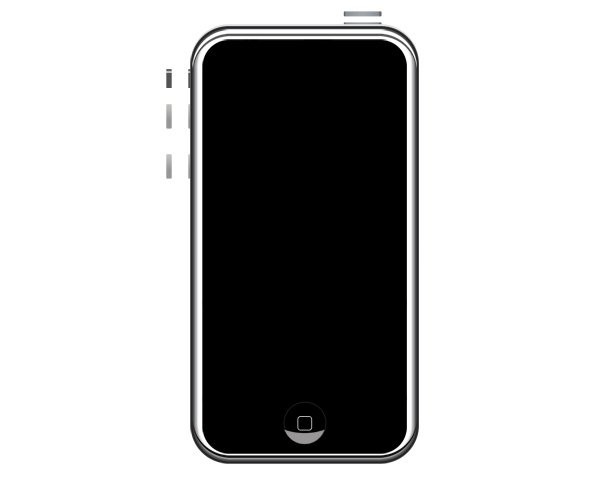
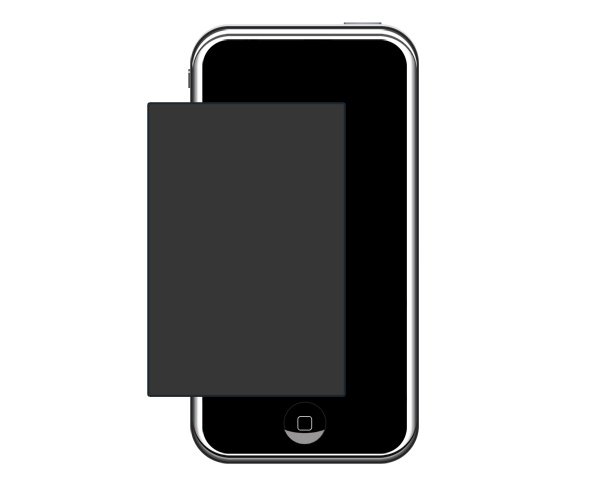
6. Add the screen. Make a dark gray rectangle shape and add 2px outline with a bit lighter gray color.
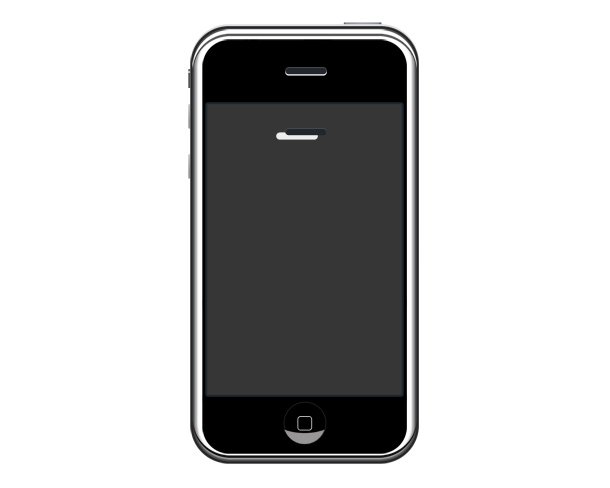
7. Make the receiver. Create two identical rounded rectangles, make the bottom one in white color, and the top one in gray and outline in a darker gray color.
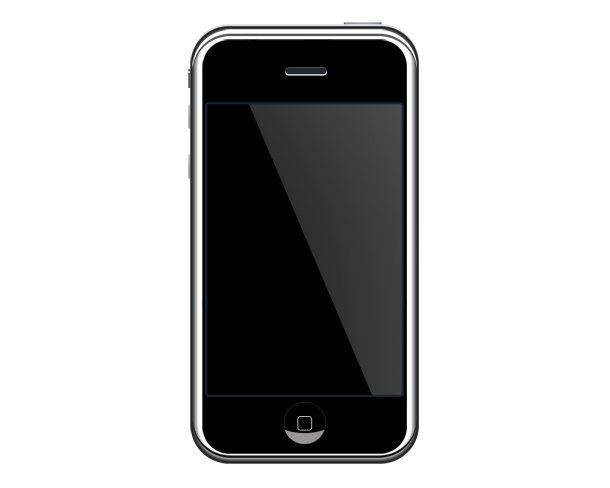
8. Add a glossy effect on the screen with gradient tool. We are done.

ความคิดเห็น